Pot Light Spacing Guide: Getting the Layout Right, Room by Room
Space pot lights at half your ceiling height apart, and keep the outer fixtures half that distance from the walls. An 8-foot ceiling means 4 feet between lights and 2 feet from walls, with task areas like counters and desks getting their own dedicated fixtures.
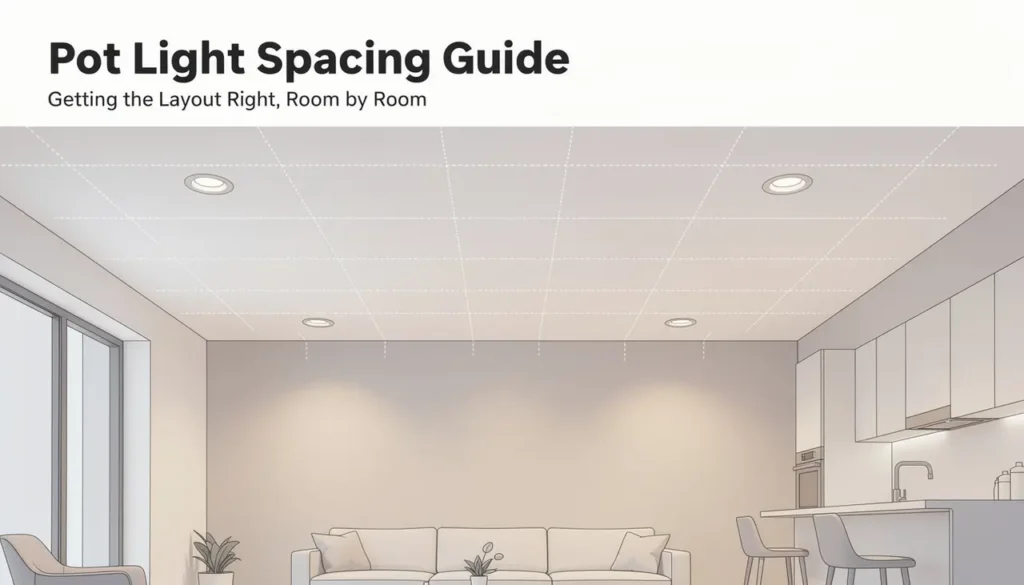
Pot Light Spacing Guide: The Three Numbers That Matter
Every pot light spacing guide worth reading reduces to three numbers, and here they are up front. Space fixtures at half your ceiling height. Keep the outer ring from the wall at half that spacing. Give task zones their own fixtures, placed for the work surface rather than the grid.
Under a standard 8-foot ceiling that means lights 4 feet apart and 2 feet off the walls. Under a 9-foot ceiling, 4.5 and about 2.25. The logic is beam coverage: each fixture throws a cone of light that widens with mounting height, and these ratios make adjacent cones overlap just enough for even coverage without hot spots.
| Ceiling height | Spacing between lights | Distance from walls |
|---|---|---|
| 8 ft | 4 ft | 2 ft |
| 9 ft | 4.5 ft | 2.25 ft |
| 10 ft | 5 ft | 2.5 ft |
| 12 ft (great room) | 6 ft | 3 ft |
Worked Example: Gridding a Real Room
Numbers behave better in an example. Take a 16 by 12 family room with an 8-foot ceiling. Spacing is 4 feet, wall distance is 2 feet, so along the 16-foot length you can place fixtures at 2, 6, 10, and 14 feet: four positions. Across the 12-foot width, positions land at 2, 6, and 10 feet: three rows.
That yields a 4 by 3 grid of twelve positions, which is almost certainly more light than a family room wants. This is the useful tension in layout work: geometry proposes, lumens dispose. Run the room’s lumen budget, find it wants six to eight fixtures, and thin the grid symmetrically, dropping to a 3 by 2 arrangement at wider spacing rather than deleting random holes. Wider-than-formula spacing with brighter fixtures is a legitimate choice; ragged asymmetry is not.
The reverse also happens: small rooms where the formula suggests two lonely fixtures. There, orient pairs along the room’s long axis and let wall reflection do the filling. How many fixtures a room needs is its own calculation, covered in our companion piece on counting pot lights per room; this guide is about where they go.
Task Zones Break the Grid on Purpose
General lighting serves the room; task lighting serves the work, and the two follow different rules. Over kitchen counters, place fixtures so the beam lands on the counter edge where you stand, not behind your head, which in practice puts them roughly 24 to 30 inches out from the wall cabinets’ face. Over a sink, centre one directly on the basin.
Desks, reading chairs, kitchen islands, and bathroom vanities all earn the same treatment: a fixture positioned for the surface, even when it steps outside the grid rhythm. Vanities deserve a special note, because a pot light directly overhead shadows every face in the mirror. Better practice is placing fixtures slightly forward of the sink line, or pairing the ceiling light with wall-mounted fixtures at face height.
Closets and stair landings sit in the task category too. One fixture centred over each landing and each run of stairs beats any formula, and shadows on stairs are a safety issue rather than an aesthetic one.
Slopes, Beams, and Other Ceiling Complications
Flat drywall is the easy case. Sloped and cathedral ceilings need gimbal or adjustable fixtures aimed straight down, and spacing calculated along the floor rather than along the slope, otherwise the high side of the room ends up starved. On a slope, also expect to bias fixtures toward the tall wall, since light from the high fixtures spreads over more floor.
Exposed beams and coffered ceilings force a choice: light the coffers individually, which looks deliberate and costs more positions, or space across the field and accept interrupted rhythm. Splitting the difference rarely works. Joist locations complicate even flat ceilings, since a mathematically perfect position sometimes lands on solid framing; wafer-style fixtures with remote drivers have largely solved this, one of several reasons retrofit layouts go smoother with a professional pot light installation than with a hole saw and optimism.
Wiring is the quiet half of every spacing plan. New switching, dimmer compatibility, and circuit capacity all ride along with the layout decisions, and in Ontario new circuits mean an ESA permit. A layout drawn without asking what the circuit can carry is a drawing, not a plan, which is where a licensed residential electrician earns their keep before the first hole gets cut.
Beam Angle: The Spec That Bends the Rules
The half-height rule assumes a typical wide beam, and checking the actual spec on your chosen fixture is what turns a generic pot light spacing guide into your layout. Beam angle is printed on every box: 90 to 120 degrees for wafer-style wide floods, 60 degrees or so for standard downlights, 25 to 40 for narrow spots meant to accent artwork or wash a fireplace.
The geometry is friendly. A fixture’s light cone diameter at floor level is roughly its mounting height times the tangent of its beam, but the practical shortcut is this: wide-beam wafers tolerate spacing up to about 20 percent looser than the formula, narrow beams need it tighter, and mixing beam widths in one field of ceiling produces the blotchy look that no spacing formula can rescue.
Accent fixtures play by different rules entirely. A narrow spot grazing a stone feature or aimed at art gets placed for the target, typically 18 to 24 inches out from the wall it is lighting, and it should sit on its own switch or dimmer channel so the drama can be dialled independently of the general light.
The Spacing Mistakes I See Most
Runway ceilings top the list: fixtures marched in straight single file down the centre of a rectangular room, leaving both long walls in gloom and the ceiling looking like an airstrip. The fix costs nothing at planning time, which is two staggered rows at proper wall distance instead of one central line.
Corner-stuffing is the opposite failure, fixtures pushed tight to the walls on the theory that edges need light, producing bright scallops down every wall and a dim middle. Respect the half-spacing setback. Third is the doorway blind spot, where a grid centred on the room’s geometry leaves the entry threshold dark; sliding the nearest fixture toward the door by a foot solves it without disturbing the pattern.
The last mistake is invisible until years later: spacing planned fixture by fixture with no thought to switching. Decide zones before drilling, general field on one dimmer, task positions on another, accents on a third, because regrouping circuits after the drywall closes costs multiples of what the same decision costs on paper.
Sketch It Before You Commit
The cheapest mistakes are the ones made on paper. Measure the room, draw it to rough scale, apply the three numbers, then walk the actual room and mark each position with painter’s tape on the ceiling. Live with the tape for a day. Tape is free to move; drywall repairs are not.
Bring that taped-and-tested sketch to whoever does the work. It turns the quote conversation into a review of your plan rather than a sales pitch, and if the sketch comes to us, it comes back as a flat quote with the final grid drawn on it.
Frequently Asked Questions
How far should pot lights be from the wall?
Half your fixture spacing, so about 2 feet from the wall under an 8-foot ceiling. Closer than that and you get bright scallops of light running down the wall; farther and the room's edges fall into shadow.
Should pot lights be centred in the room or over furniture?
Start from the geometry, then cheat toward function. A symmetric grid gives even general light, but a fixture that lands half over a bookcase serves nobody. Shifting individual lights up to a foot to serve real surfaces reads as intentional, not crooked.
Does spacing change with LED versus older halogen fixtures?
The rules of thumb carry over. What changes is beam angle: many LED wafers throw a wide, even cone that forgives small spacing errors, while narrow-beam fixtures need tighter, more deliberate placement. Check the beam spec before finalizing a grid.